Building a Workflow
Workflows bundle extensions, prompts, and decision logic into reusable automations.
1. Create a Workflow
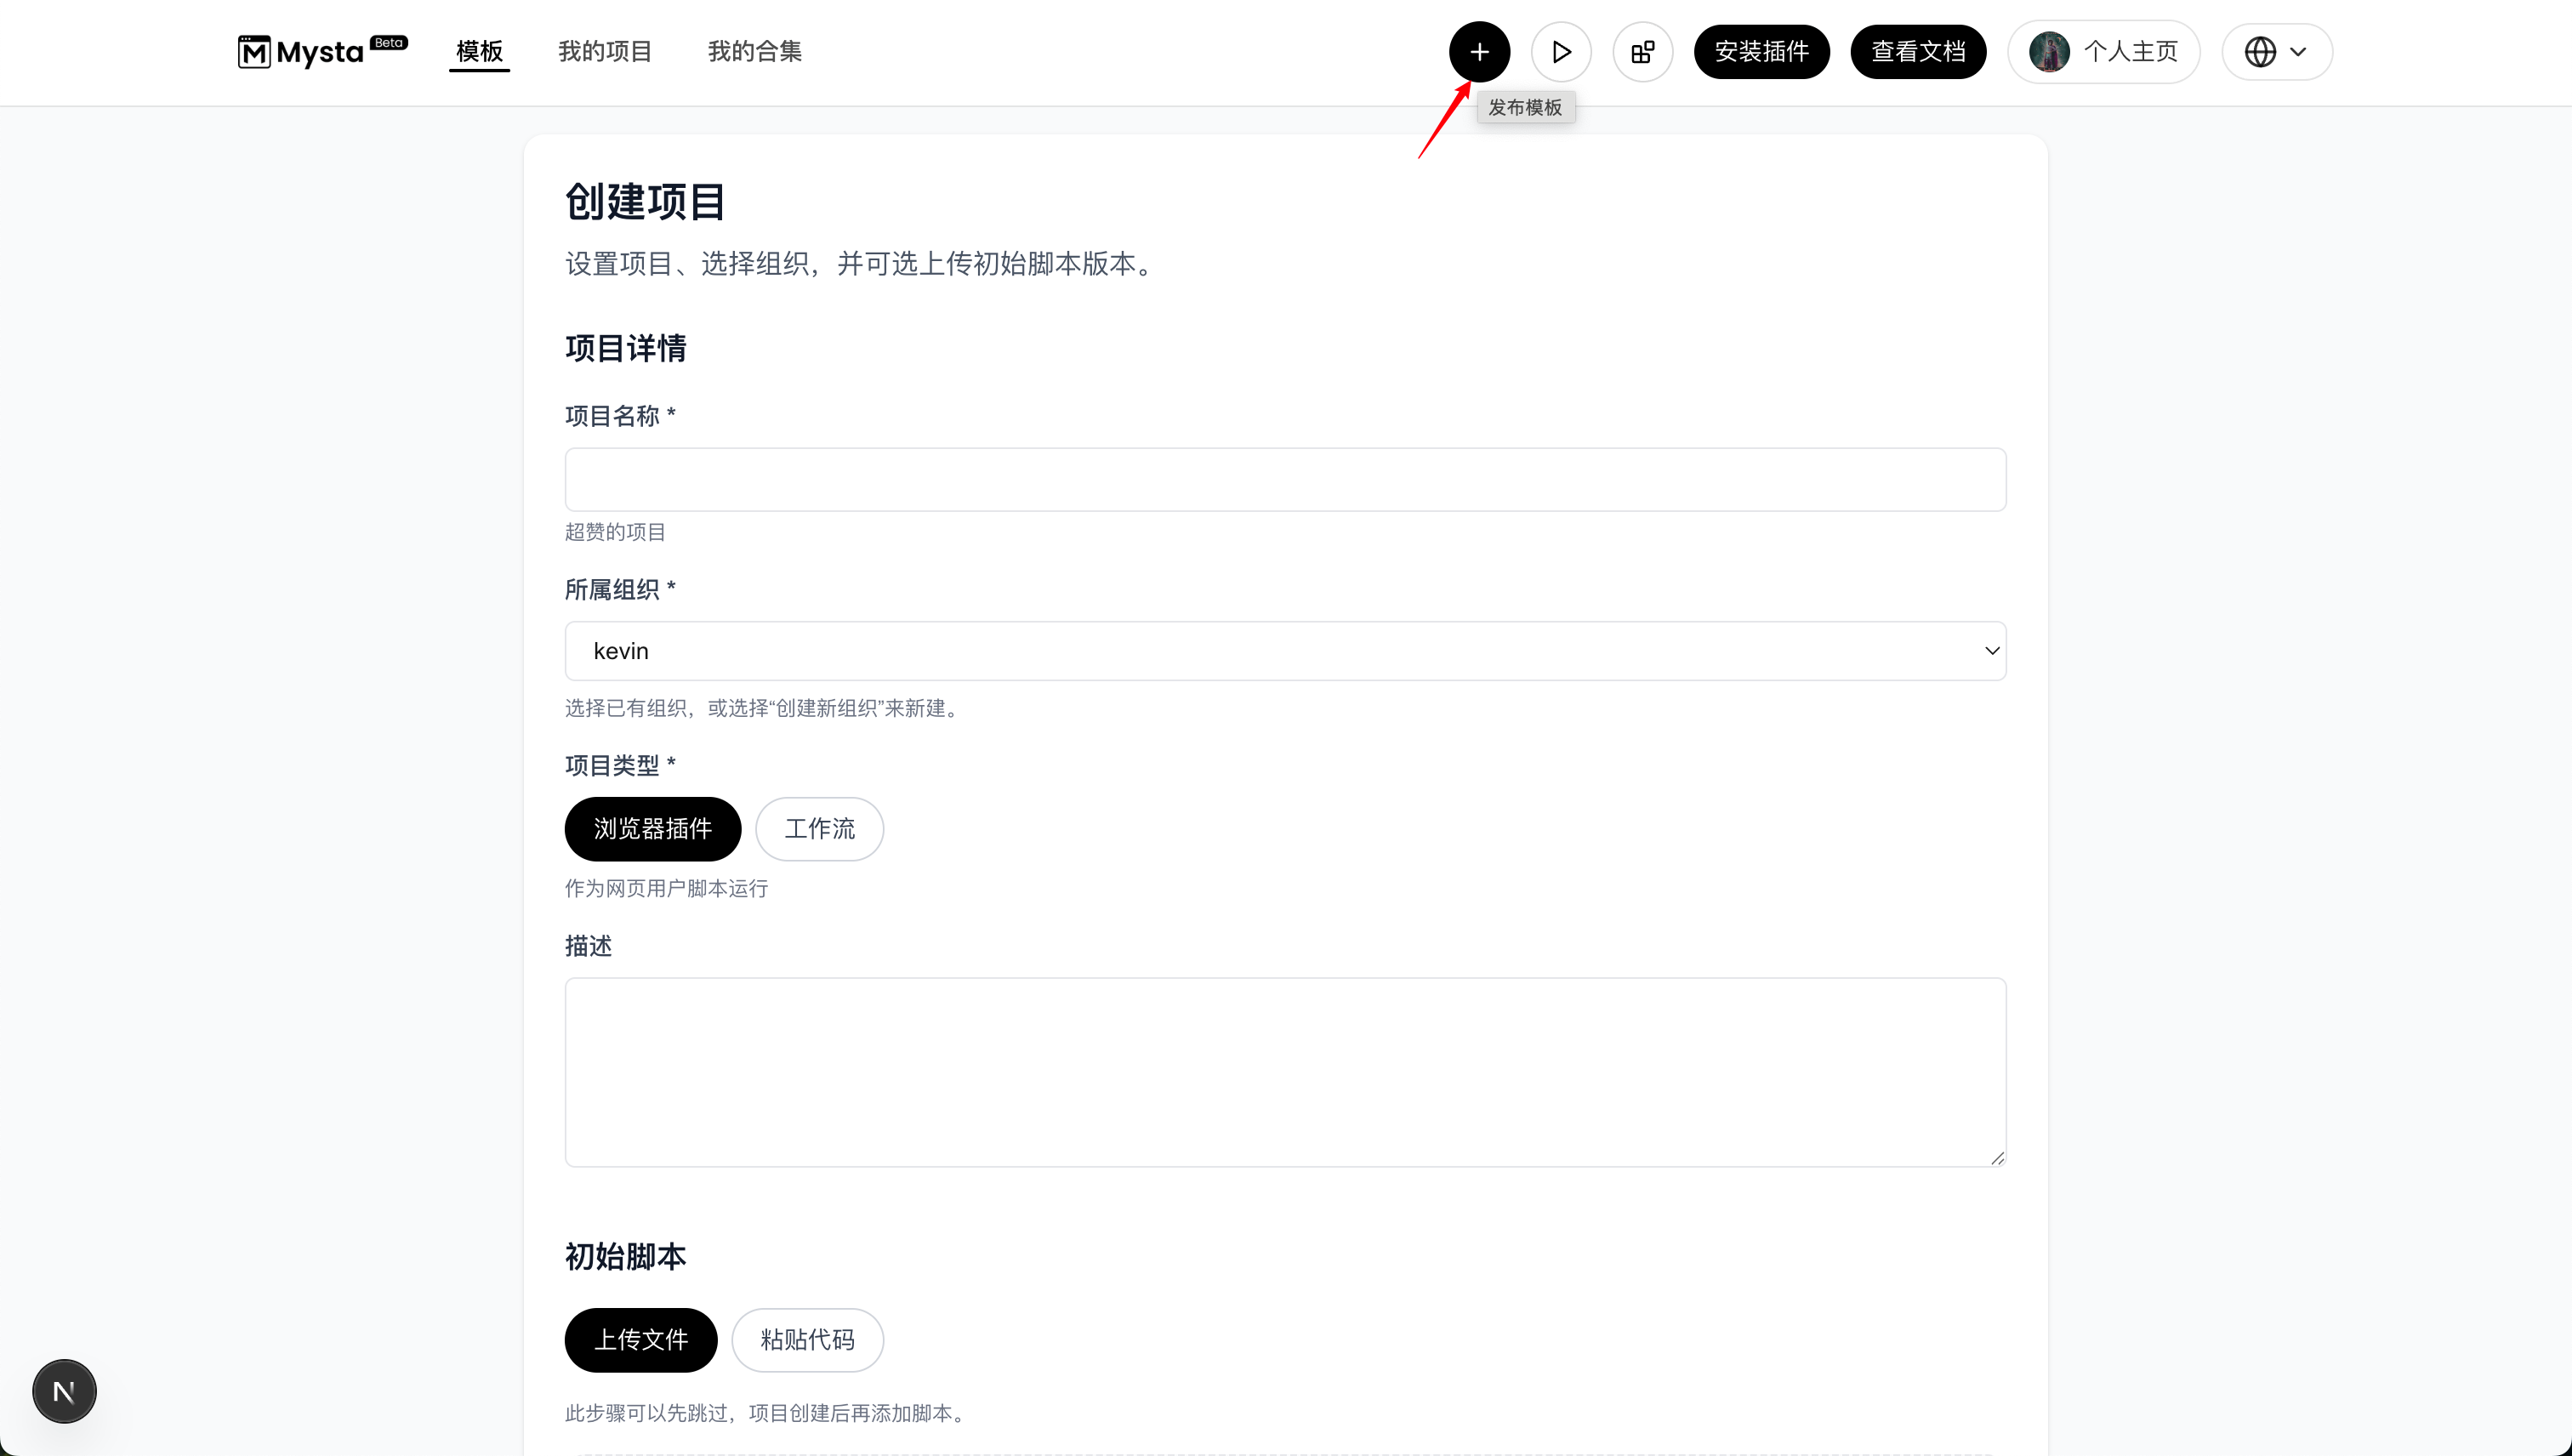
In the Mysta console, click Publish Template.
- Enter the project name.
- Select an existing organization or create a new one.
- Choose Workflow as the project type.
- Provide a description.
- Configure the initial script or note planned updates.
2. Build the Workflow
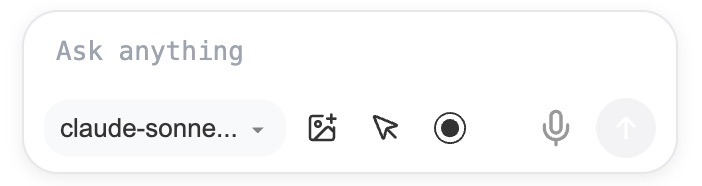
Inside the Mysta browser extension, open Developer Mode and select New Workflow.
- Prompt input: type the instruction you want the agent to follow.
- Model selector: choose the model to run the workflow.
- Upload image: add images to provide extra context.
- Select page elements: pick elements from the current page as context.
- Record events: capture interactive elements to replay actions.
- Voice input: dictate prompts by voice.
- Send: execute the conversation.
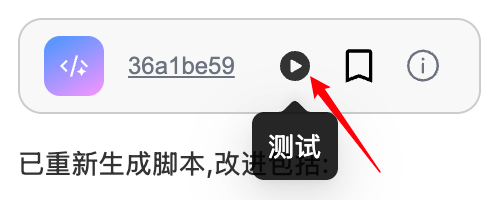
3. Test Locally
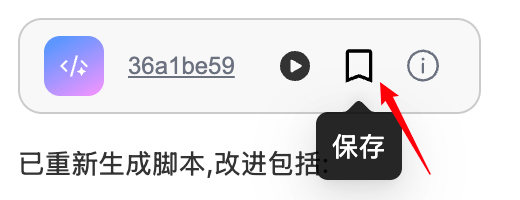
Click Test.
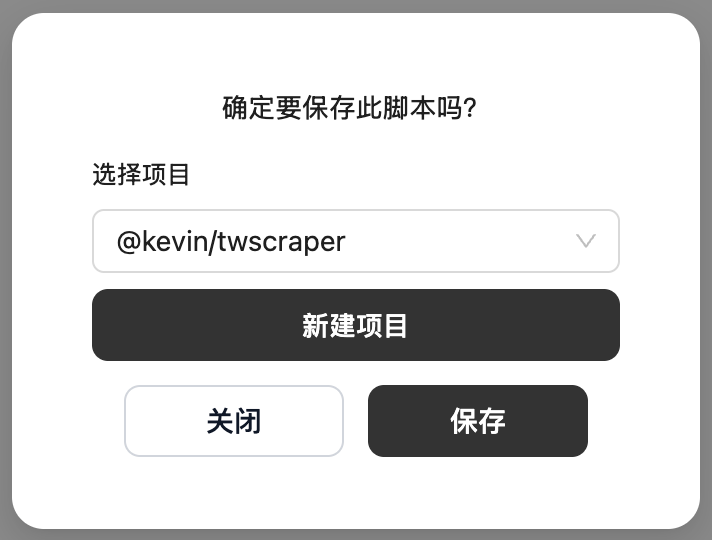
4. Save and Publish
Click Save.
Choose an existing project or create a new one.
5. Manage the Workflow
Use the Mysta console to manage everything under My Projects.
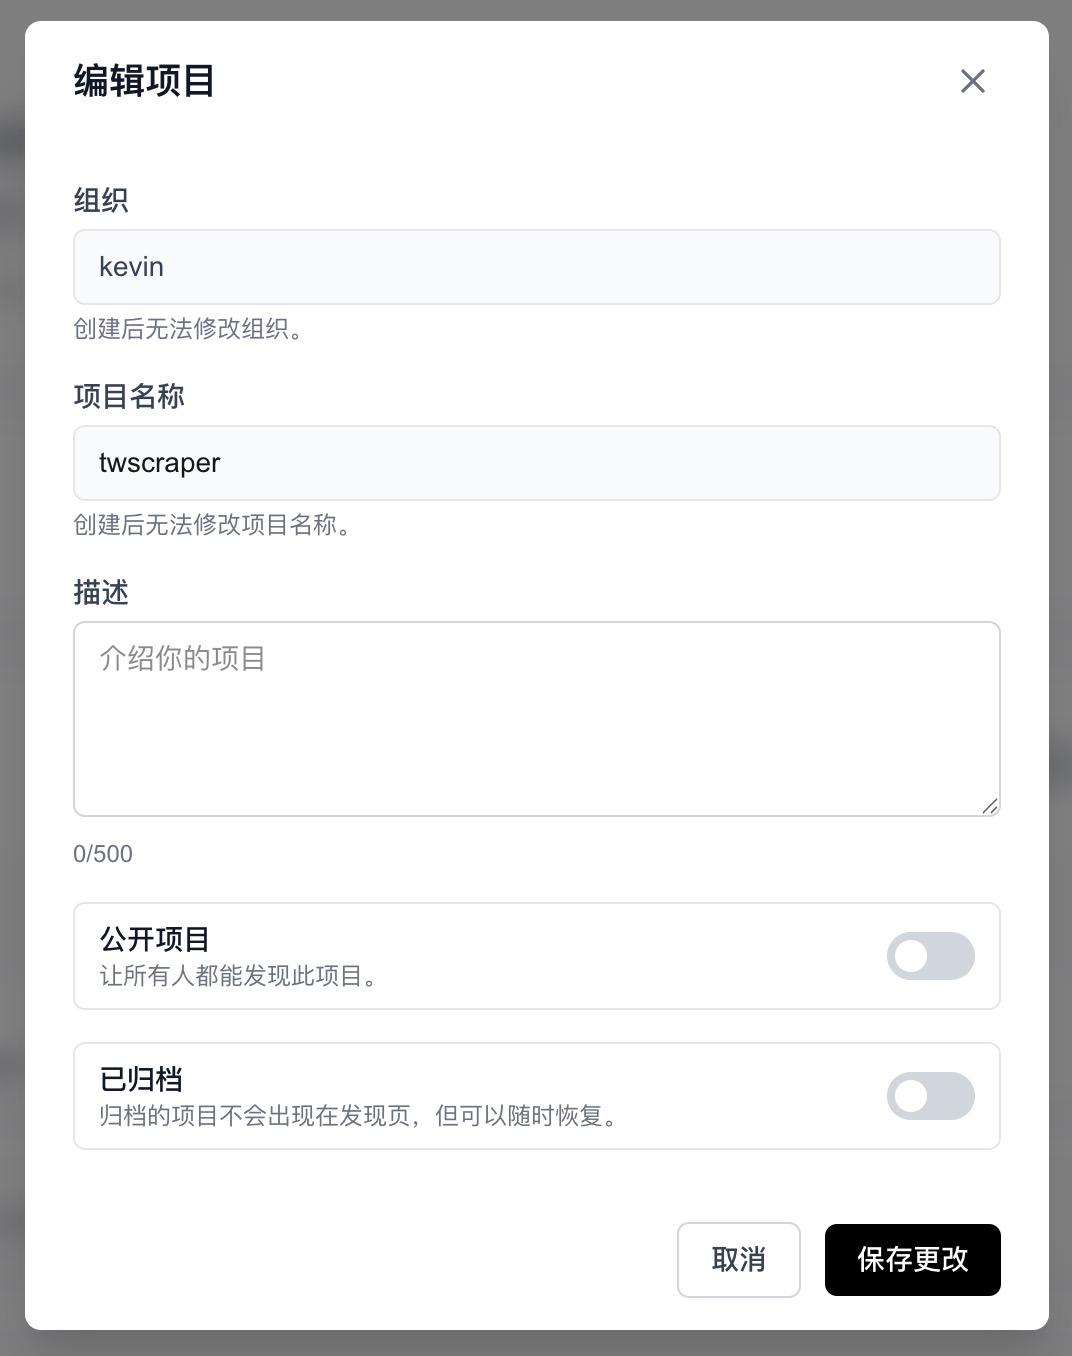
Edit project
- Description: update the project summary.
- Make public: allow everyone to discover the project. Note that a public project cannot revert to private.
- Archive: archived projects stay hidden from the discovery page but can be restored anytime.
Upload a new version
Upload a file or paste code to create a new revision.

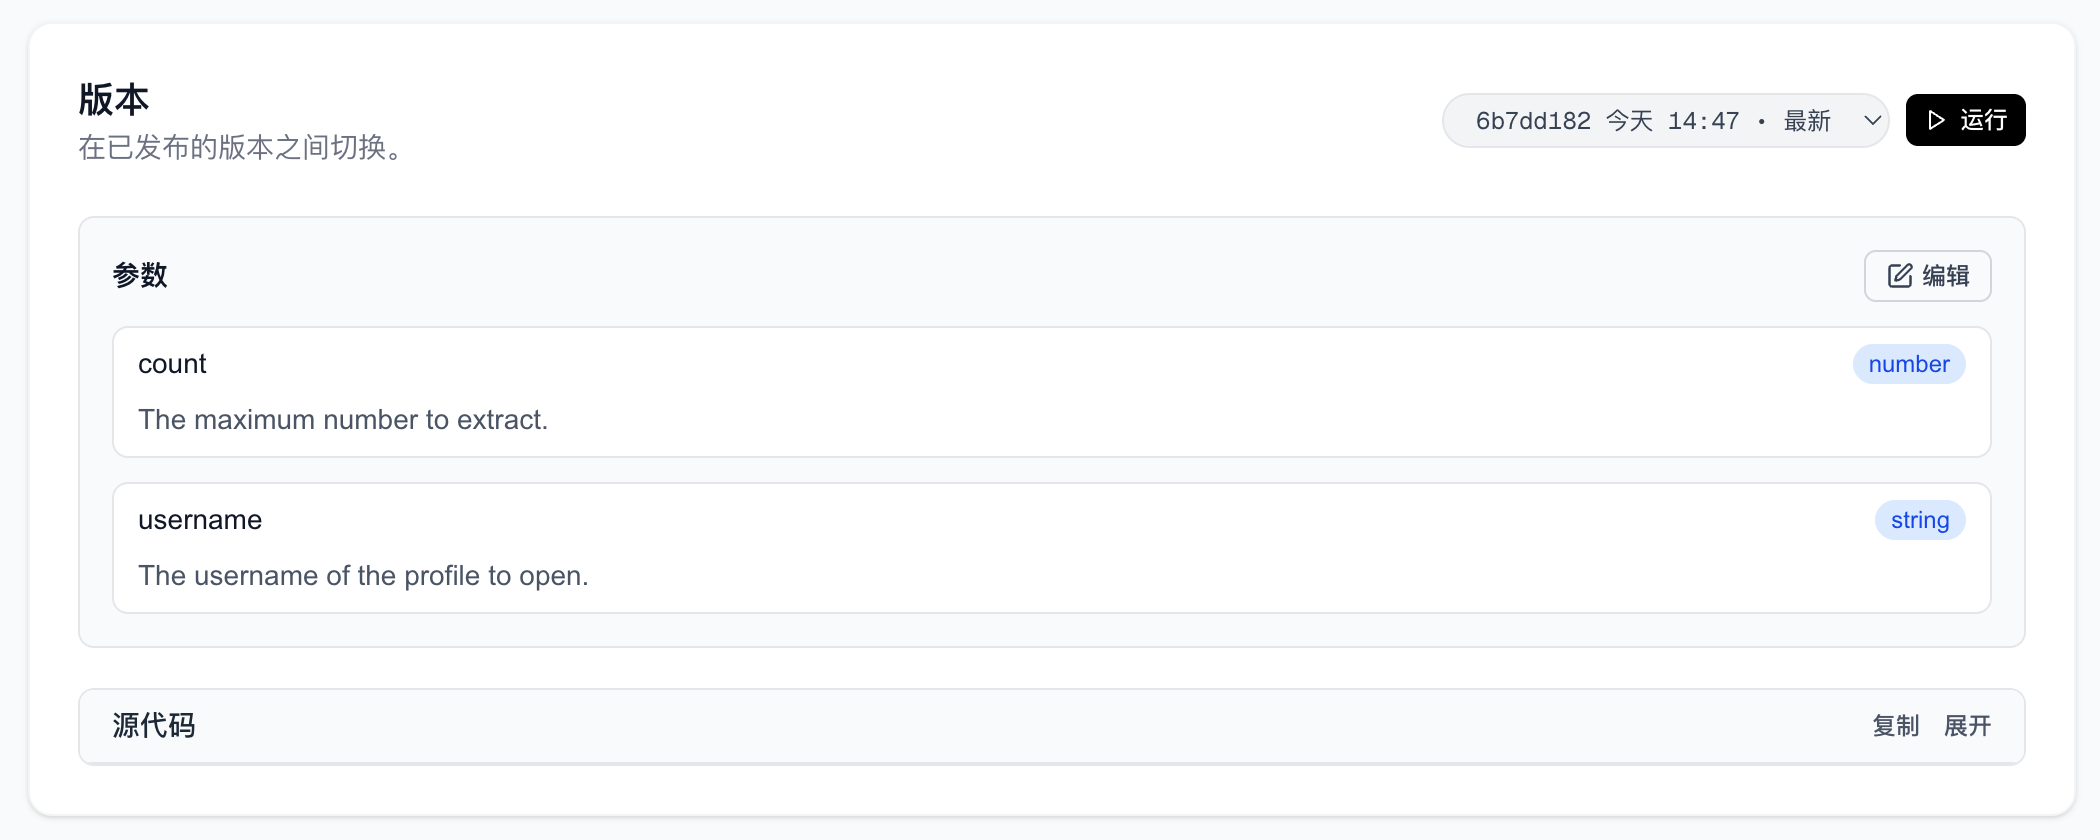
Version management
- Switch installations between published versions.
- Edit parameters.